Temenos Lifecycle Management Suite - Origination Product Guide
Views Administration
| Administrator Guide > Desktop and Ribbon Bar > Views Administration |
Views are used to group similar applicants and applications for end users to view and work. They can serve as ad-hoc queues, and supply users with another route to get to the desired information.
Clicking  in the Ribbon bar opens the Views page. From this page, administrators are able to create, copy, edit, and delete views.
All views share common attributes that are defined while creating, copying, and editing a view.
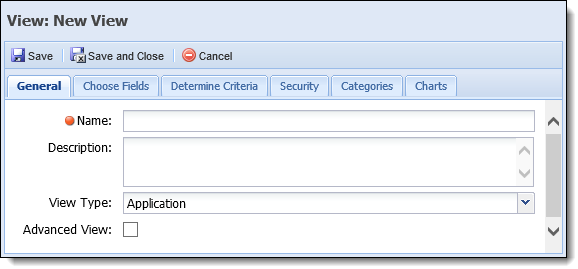
General attributes are located on the General tab:
| Attribute | Description | ||||||||
| Name | Enter a name for the new view in the name field. This is a required field. | ||||||||
| Description | If necessary, enter a description for the new view. | ||||||||
| View Type |
Select a View Type from the drop down. The type selected determines what fields are displayed within the Choose Fields tab and Determine Criteria tabs. The following view types are available for selection:
|
||||||||
| Advanced View |
Select the Advanced View check box to build an advanced view. Advanced views allow for 2 or more view types to be displayed within a view. Selecting this option disables the Determine Criteria tab.
|
Field attributes enable administrators to select the fields that display in the view.
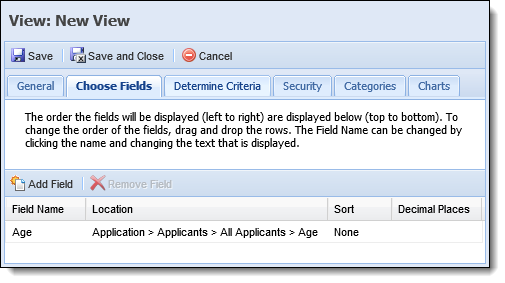
The following Field attributes are located in the Choose Fields tab:
| Field Attribute | Description |
| Field Name | Displays the Field Names included in the view. |
| Location | Displays the location of the Field within the Field List. |
| Sort | Allows administrators to sort the Field data in ascending or descending order. |
| Decimal Places | Allows administrators to set the length of decimal places a field displays. This is only available for fields with numerical data. |
System administrators can use the  and
and  buttons to determine which fields appear in the view.
After fields have been added to the view, the order can be rearranged by clicking and dragging fields to their desired position.
 |
The order that the fields display in this tab (top to bottom) is the order that they appear from left to right within the view. |
Users can also change the display of any field by clicking in the Field Name column, or setup default sorting by selecting the field in the Sort column.
Prior to adding fields to a view, it is recommended to review the following to ensure the expected data populates in the view:
|
Any headings, numbering, and/or indentation applied to the comment text does display for the Formatted Comment fields in the view. |
 |
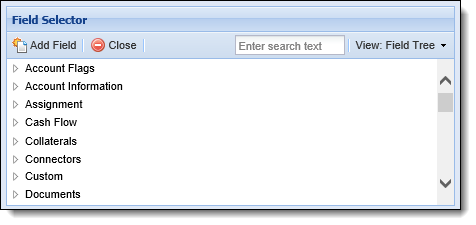
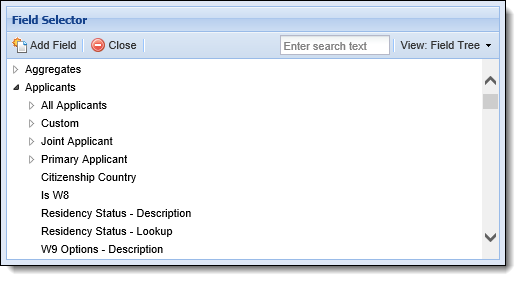
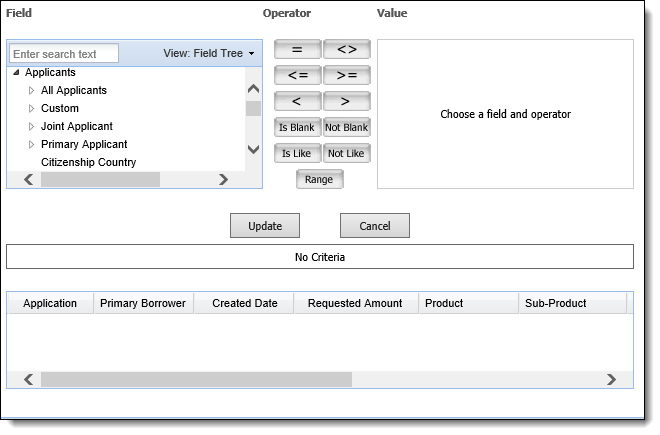
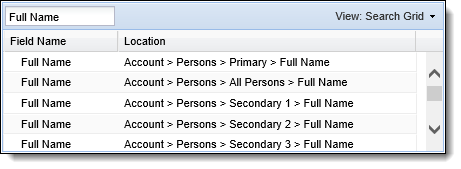
Reference the following section for an overview of the Field List: The field list is a feature used throughout Temenos Infinity to define the fields to display on reports, views, and exports. It is also used in criteria building for reports, views, exports, and searches. The field list is a feature used in criteria building for searches. Each field selector window looks the same regardless of how it is accessed. In the below example, the field selector has been accessed through the Fields tab when creating a new report. By default, the field selector opens in a tree format with expandable folders and sub-folders.
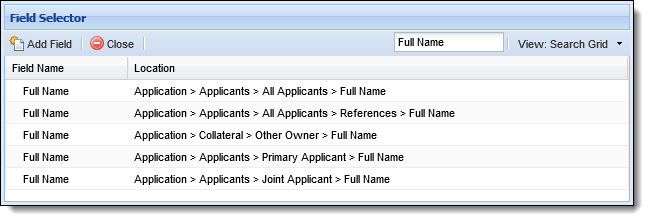
Field TreeWhen using the Field Tree format, click the arrow next to the field name to expand or collapse the list of available fields. Expand each section until the desired field is found, or search for the field by entering text into the search text box, and hitting Enter on the keyboard. Once the desired field is located, highlight the field, and then double-click the field, or select Once the desired field is located, highlight the field, and then select an operator, define the value, and click Update. Search GridTo change the view of the field selector from a tree to a search grid format, click the View drop-down in the top of the field selector window, and select Search Grid. Using the Search functionality, locate the desired field by entering text into the text box, and hitting Enter on the keyboard. A list of results displays including the field name and location in Temenos Infinity.
Once the desired field is located, highlight the field, and then double-click the field, or select Once the desired field is located, highlight the field, and then select an operator, define the value, and click Update. |
Criteria attributes are located on the Determine Criteria tab.
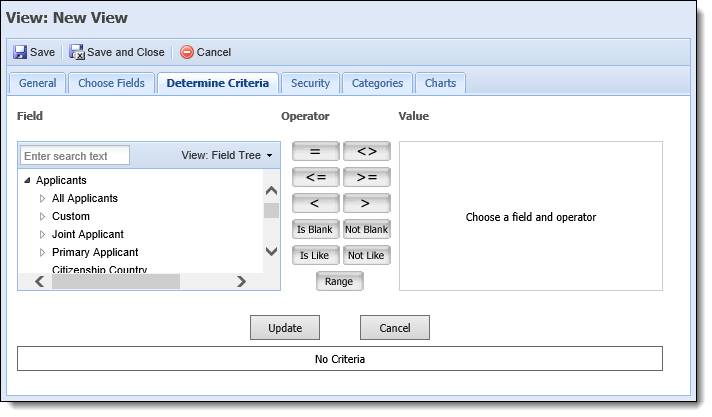
Use the criteria builder to specify what the system is to display in the view. For more information on the Criteria Builder, see the Criteria Builder help section within the User Guide.
Security attributes provide the ability to assign specific users and/or security groups access to the view.
|
In addition to being assigned to the view within this tab, the user or security group must also be granted View or Change access to the Origination Workspace permission in order for applications to be opened from the view in the Ribbon Bar. This permission is set under the Application Processing category of the Permissions tab in System Management > Users, or System Management > Groups > Security Groups. For more information, please see the Users or Security Groups topic in this guide. |
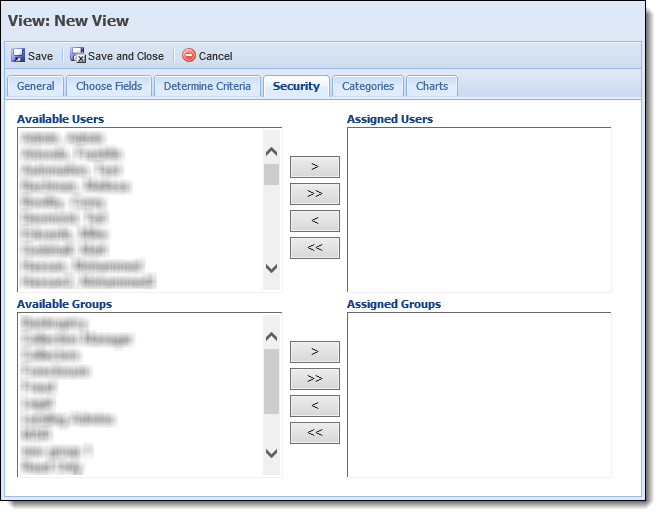
The following attributes are located on the Security tab:
| Attribute | Description |
| Assign Users | Select users from the Available Users list and move them to Assigned Users to provide users access to the view. |
| Assign Groups | Select groups from the Available Groups list and move them to Assigned Groups to provide groups access to the view. |
|
Categories do not apply to the Loan Origination Module. |
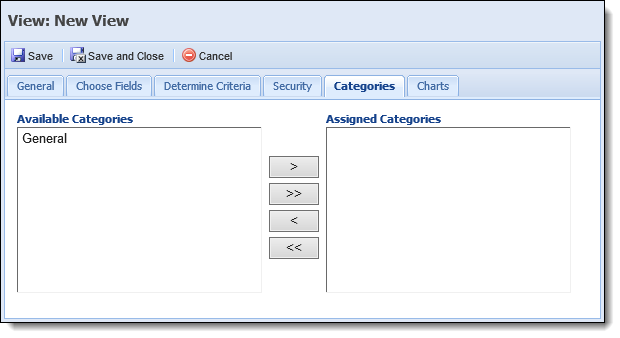
The categories attribute is located on the Categories tab:
| Attribute | Description |
| Assign Categories | Select categories from the Available Categories list and move them to Assigned Categories to provide users access to the view. |
Charts can be built to reflect the data populated in the view.

The chart attributes that are displayed on the Charts tab are defined when a chart is added.
To add a chart, click Add Chart. The Add Chart screen appears.
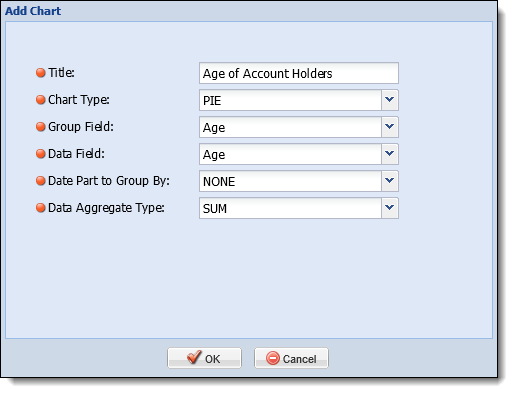
| Chart Attribute | Description |
| Title | Provide a title for the chart. |
| Chart Type | Select the type of chart from the drop-down. |
| Group Field | Select the Group Field. This is how the data is grouped when the chart is displayed |
| Data Field | Select the Data Field. This is the variable that is measured within the grouping. |
| Date Part to Group By | If a date field is selected in the Group Field, select how the dates are to be grouped such as Day, Month or Year. |
| Data Aggregate Type | Select the aggregate type to calculate the data. This is dependent on which Group Field is selected. |
When finished, click OK. The chart appears within the Charts tab. To edit information on the chart, click within the columns and make any changes.
|
Charts built in this tab are available to view as a part of a Dashboard using the Charting Web Part. For more information on how to view this chart, see the Web Parts section within the Dashboard features in the User Guide. |
Within the Views page, administrators are able to perform the following actions:
To create a new view:
 within the top of the Views page.
 or
or  to save the new view, and return to the Views page.
To copy a view:
 . or to save the new view, and return to the Views page.
To edit a view:
 . or to save the view, and return to the Views page.
To delete a view:
 .
. |
For more information about running a view, please see the Views topic in the End User guide. |
 Field List